
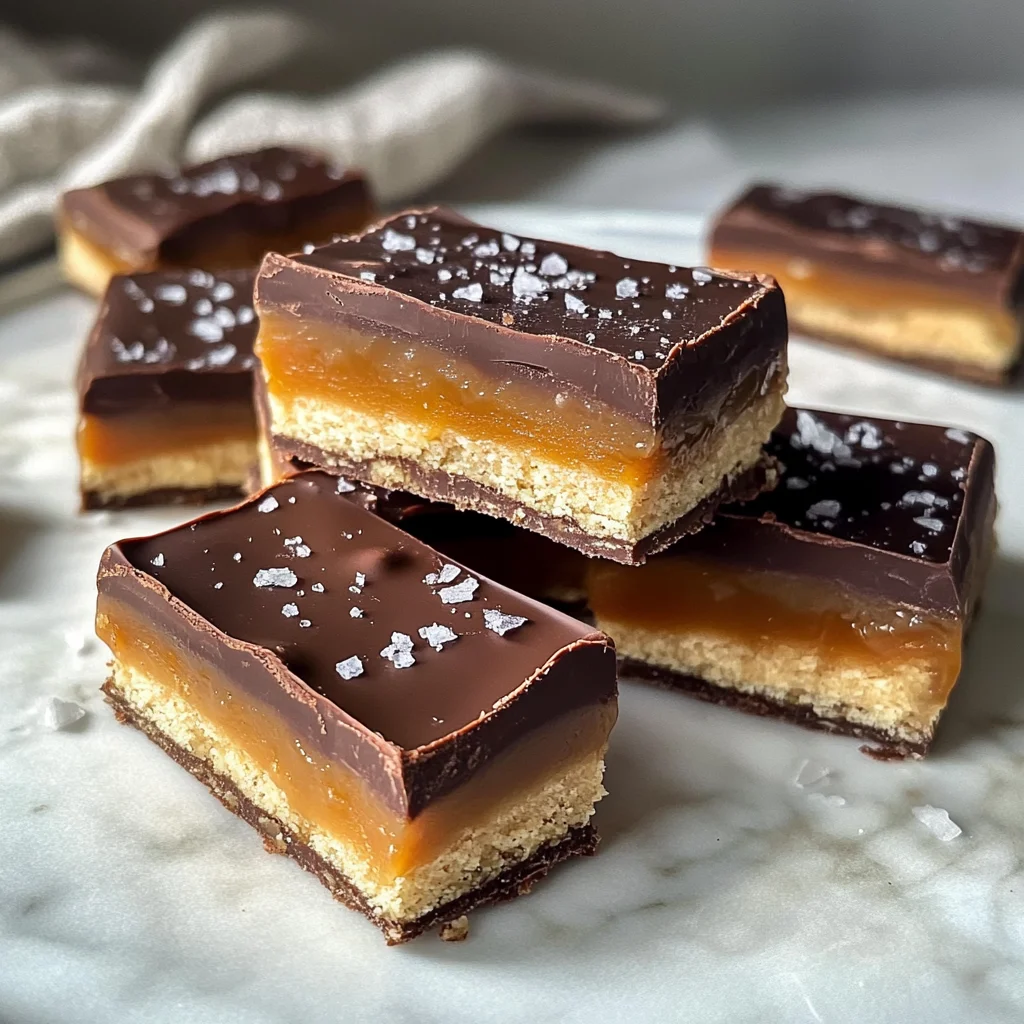
Satisfy your sweet tooth with these Healthy Twix Bars (Gluten-free) Homemade Recipe! Perfect for a snack or dessert, these bars are not only delicious but also made with wholesome ingredients. They cater to various occasions, whether you’re hosting a gathering or simply indulging yourself. Enjoy the rich flavors of chocolate and peanut butter while knowing you’re treating yourself to something healthy.
Why You’ll Love This Recipe
- Wholesome Ingredients: Made with almond flour and natural sweeteners, these bars are guilt-free.
- Easy to Make: With simple steps and minimal prep time, even novice bakers can whip up this treat.
- Versatile Snack: Ideal for meal prepping or a quick sweet fix at any time of day.
- Gluten-free Delight: Perfect for those avoiding gluten while still craving something sweet.
- Customizable Toppings: Feel free to add nuts or coconut flakes for extra flavor and texture.
Tools and Preparation
Before diving into the recipe, gather your tools. Having everything ready will make the process smoother and more enjoyable.
Essential Tools and Equipment
- Baking pan (8×8 inch)
- Mixing bowls
- Parchment paper
- Measuring cups and spoons
- Spatula
- Double boiler or microwave-safe bowl
Importance of Each Tool
- Baking pan: Ensures even cooking and helps shape the bars perfectly.
- Mixing bowls: Allow for easy combining of ingredients without spills.
- Parchment paper: Provides a non-stick surface for easy removal of the bars after baking.
Ingredients
Satisfy your sweet tooth with these Healthy Homemade Twix Bars! Gluten-free and made with wholesome ingredients.
For the Shortbread Base:
- 1 1/2 cups Almond Flour
- 3 tbsp Butter (melted)
- 1 1/2 tbsp Maple Syrup
- 1/2 tsp Vanilla Extract
- 1/4 tsp Salt
For the Caramel Filling:
- 1 cup Creamy Peanut Butter
- 1/3 cup Maple Syrup
- 1 tsp Vanilla Extract
- 1/4 cup Almond Flour
For the Chocolate Coating:
- 1 cup Chocolate Chips
- 1 1/2 tbsp Coconut Oil
How to Make Healthy Twix Bars (Gluten-free) Homemade Recipe
Step 1: Preheat the Oven
Preheat your oven to 350°F (175°C). Line an 8×8 inch baking pan with parchment paper, ensuring the edges are well covered. This step is crucial for easy removal of the shortbread base later.
Step 2: Prepare the Shortbread
In a large mixing bowl, combine the almond flour, melted butter, maple syrup, vanilla extract, and salt. Stir until fully incorporated to form a dough. Press this mixture firmly and evenly into the prepared baking pan. Bake for 10-12 minutes until golden brown around the edges. Set aside to cool while you prepare the caramel filling.
Step 3: Make the Caramel Filling
In a medium bowl, mix together the peanut butter, maple syrup, vanilla extract, and almond flour until smooth and well combined. Once the shortbread has cooled, spread this caramel mixture evenly over the top. Place the pan in the freezer for at least 1 hour to set.
Step 4: Prepare the Chocolate Coating
After setting the caramel layer, melt chocolate chips and coconut oil together in a shallow bowl over boiling water or by microwaving in 30-second intervals until smooth.
Step 5: Assemble the Bars
Remove from freezer and lift out using parchment paper. Place it on a cutting board and slice into 16 bars—cut in half once then slice each half into eight even bars.
Step 6: Coat the Bars
Dip each bar into melted chocolate ensuring full coverage. Gently tap off any excess chocolate before placing on a parchment-lined tray. Repeat this for all bars.
Step 7: Final Touch
Optionally drizzle remaining melted chocolate over bars and sprinkle with flaky sea salt. Return tray to freezer for about 10 minutes until chocolate hardens.
Step 8: Enjoy!
Your homemade healthy Twix bars are ready to be savored! Store any leftovers in an air-tight container in the fridge or freezer.
How to Serve Healthy Twix Bars (Gluten-free) Homemade Recipe
These Healthy Twix Bars are a delightful treat that can be served in various ways. Whether you’re hosting a party or enjoying a quiet night at home, these bars will satisfy your cravings and impress your guests.
For a Sweet Snack
- With a Cup of Tea or Coffee: Pair these bars with your favorite hot beverage for a cozy afternoon snack.
- On a Dessert Platter: Arrange the bars on a platter with fresh fruits for an appealing presentation.
- As Party Favors: Cut them into smaller pieces and wrap them individually as sweet gifts for guests.
For Meal Prepping
- Pack in Lunch Boxes: These bars make an excellent addition to lunch boxes, providing energy and sweetness throughout the day.
- Post-Workout Fuel: Enjoy one of these bars after exercising for a healthy protein boost.
For Special Occasions
- At Birthday Celebrations: Serve these bars as an alternative dessert at birthday parties. Their unique flavor will be a hit!
- During Movie Nights: Enjoy them while watching your favorite films for the perfect sweet treat experience.
How to Perfect Healthy Twix Bars (Gluten-free) Homemade Recipe
Creating the perfect Healthy Twix Bars requires attention to detail. Here are some tips to enhance your baking experience.
- Use Fresh Ingredients: Ensure all ingredients, especially nuts and sweeteners, are fresh for the best flavor and texture.
- Press Firmly: When making the shortbread base, press the mixture firmly into the pan to create a solid crust that holds well.
- Chill Between Layers: Allow each layer to chill before adding the next. This helps set the caramel and chocolate perfectly.
- Melt Chocolate Gently: Use low heat when melting chocolate to avoid burning it, ensuring a smooth coating.
- Experiment with Toppings: Consider adding nuts or coconut flakes on top of the chocolate for added texture and flavor.
- Store Properly: Keep leftovers in an airtight container in the fridge or freezer to maintain freshness.
Best Side Dishes for Healthy Twix Bars (Gluten-free) Homemade Recipe
These Healthy Twix Bars can be complemented by several side dishes that enhance their flavors. Here are some great options:
- Fresh Fruit Salad: A medley of seasonal fruits provides a refreshing contrast to the rich sweetness of the bars.
- Yogurt Parfait: Layer yogurt with granola and berries for a nutritious side that balances indulgence with health.
- Nut Mix: A simple blend of almonds, walnuts, and seeds adds crunchiness and healthy fats alongside your dessert.
- Cheese Platter: Include assorted cheeses that offer savory notes to balance out the sweetness of the bars.
- Veggie Sticks with Hummus: Crunchy vegetables paired with hummus provide a healthy contrast, making it an enjoyable snack combo.
- Coconut Chia Pudding: This creamy dessert made with chia seeds adds texture and is packed with nutrients, complementing the bars nicely.
- Rice Cakes with Nut Butter: Light and crunchy rice cakes spread with nut butter create another fun pairing option.
- Smoothie Bowl: A smoothie bowl topped with granola and fruits can serve as a vibrant side dish that’s both delicious and nutritious.
Common Mistakes to Avoid
When making the Healthy Twix Bars, it’s easy to overlook some important details. Here are a few common mistakes to watch out for.
- Incorrect Oven Temperature: Always preheat your oven to 350°F (175°C). An unheated oven can lead to uneven baking.
- Not Cooling the Shortbread: Allow the shortbread layer to cool completely before adding the caramel. This prevents melting and ensures a distinct layer.
- Overmixing the Caramel Layer: Mix just until combined. Overmixing can affect the texture, making it grainy instead of smooth.
- Using Unsuitable Chocolate: Choose high-quality chocolate chips meant for melting. Some brands do not melt well and can ruin the coating.
- Skipping the Freezing Step: Don’t skip freezing after adding the caramel layer. This helps everything set properly before dipping in chocolate.
Storage & Reheating Instructions
Refrigerator Storage
- Store in an airtight container for up to 1 week.
- Keep layers separated with parchment paper to prevent sticking.
Freezing Healthy Twix Bars (gluten-free) Homemade Recipe
- Freeze for up to 3 months in an airtight container.
- Wrap each bar individually in plastic wrap for easier access.
Reheating Healthy Twix Bars (gluten-free) Homemade Recipe
- Oven: Preheat to 300°F (150°C) and warm for about 5-10 minutes.
- Microwave: Heat on low power for 15-20 seconds until soft.
- Stovetop: Place on a pan over low heat, turning frequently until warmed through.
Frequently Asked Questions
Here are some common questions regarding Healthy Twix Bars (gluten-free) Homemade Recipe.
Can I substitute almond flour with another flour?
Yes, you can use coconut flour or gluten-free all-purpose flour, but be aware that these may alter the texture slightly.
How can I customize my Healthy Twix Bars?
Feel free to add nuts or dried fruits into the caramel layer for extra flavor and crunch!
What is the best way to store Healthy Twix Bars (gluten-free) Homemade Recipe?
Store them in an airtight container in the refrigerator or freeze them individually wrapped for longer shelf life.
How long do these bars last?
When stored correctly, they last about a week in the fridge and up to three months in the freezer.
Final Thoughts
These Healthy Twix Bars are not only delicious but also versatile! You can customize them with different nut butters or toppings. They’re perfect as a snack or dessert, satisfying your sweet cravings without guilt. Give this recipe a try and enjoy a healthy twist on a classic treat!
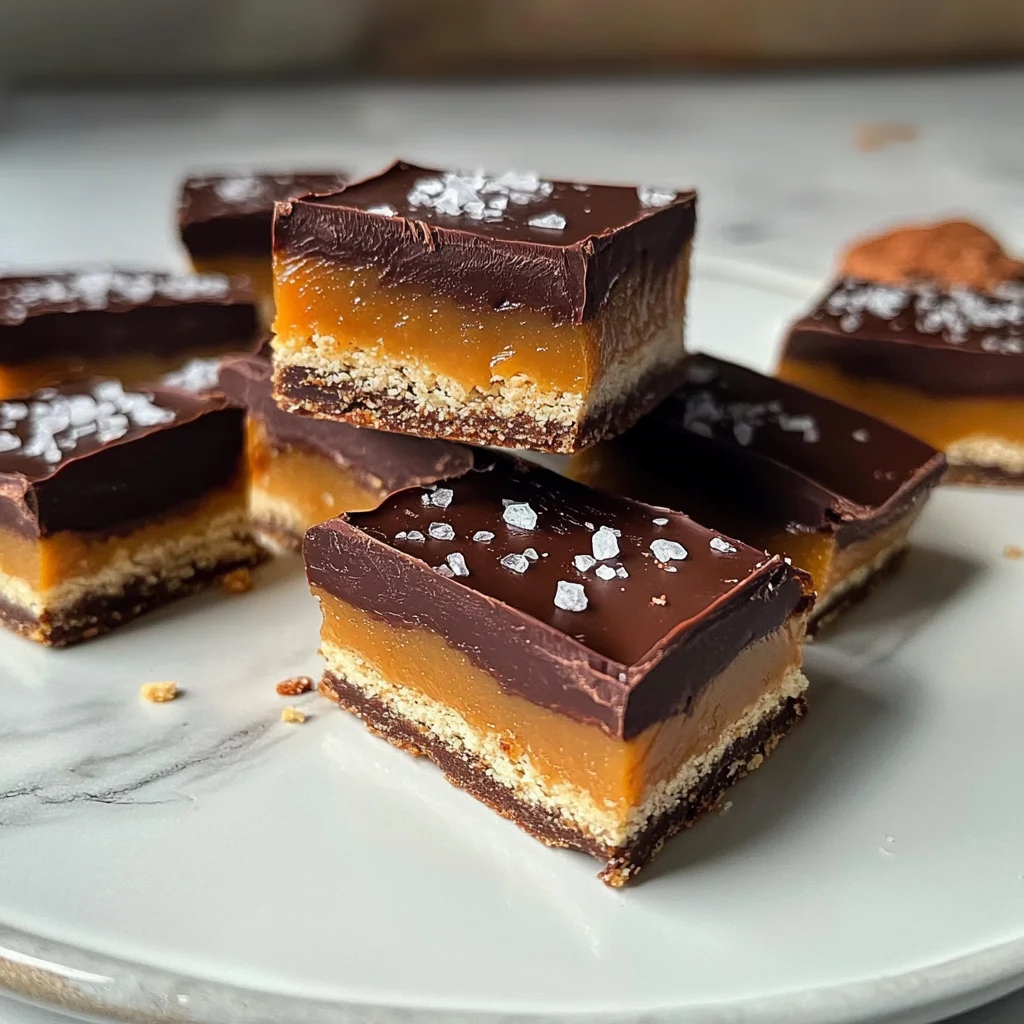
Healthy Twix Bars (Gluten-free) Homemade Recipe

Satisfy your sweet cravings with these Healthy Twix Bars (Gluten-free) Homemade Recipe. These delicious bars are perfect for any occasion, whether as an afternoon snack or a dessert to impress guests. Crafted from wholesome ingredients like almond flour and creamy peanut butter, they offer a guilt-free indulgence that doesn’t compromise on flavor. With a crunchy shortbread base, luscious caramel filling, and rich chocolate coating, you’ll love every bite! Plus, they’re easy to customize with your favorite toppings for added texture and taste. Give this delightful recipe a try to enjoy a healthy twist on a classic treat.
- Prep Time: 20 minutes
- Cook Time: 12 minutes
- Total Time: 32 minutes
- Yield: Approximately 16 servings 1x
- Category: Dessert
- Method: Baking
- Cuisine: Homemade
Ingredients
- 1 1/2 cups Almond Flour
- 3 tbsp Butter (melted)
- 1 cup Creamy Peanut Butter
- 1/3 cup Maple Syrup
- 1 cup Chocolate Chips
- 1 1/2 tbsp Coconut Oil
- 1/2 tsp Vanilla Extract
- 1/4 tsp Salt
Instructions
- Preheat oven to 350°F (175°C) and line an 8×8 inch baking pan with parchment paper.
- In a mixing bowl, combine almond flour, melted butter, maple syrup, vanilla extract, and salt to form the shortbread dough. Press into the prepared pan and bake for 10-12 minutes until golden brown.
- In another bowl, mix peanut butter, maple syrup, vanilla extract, and almond flour until smooth. Spread over the cooled shortbread layer and freeze for at least 1 hour.
- Melt chocolate chips with coconut oil using a double boiler or microwave until smooth.
- Remove the pan from the freezer and cut into bars. Dip each bar into melted chocolate, tapping off excess before placing them on parchment paper.
- Optionally drizzle remaining chocolate over bars and freeze again for about 10 minutes until set.
Nutrition
- Serving Size: 1 serving
- Calories: 180
- Sugar: 7g
- Sodium: 45mg
- Fat: 14g
- Saturated Fat: 5g
- Unsaturated Fat: 9g
- Trans Fat: 0g
- Carbohydrates: 10g
- Fiber: 2g
- Protein: 5g
- Cholesterol: 15mg